


DIY Inspiration Board Mission | Life on Virginia Highway
Proper this second I’m sharing the straightforward tutorial for the best way I made the inspiration board in my craft room that you just simply seen on Friday’s huge craft room reveal.

Offers Needed {clickable affiliate hyperlinks included beneath in your buying consolation}:
- Cork bulletin board {I picked mine up at Curiosity Lobby. It rang in at $14 for the 36″x36″ dimension with a 30% off sale they’ve been having}. I’ve linked to a minimum of one which’s 24 x 36 that is associated.
- Burlap or materials of your choosing. I chosen a light-toned burlap and purchased 1.5 yards for the 36″x 36″ board. You’ll want a lot of additional inches spherical each edge, so you should definitely buy larger than the scale of your board. This was moreover on sale and rang in at merely over $3.
- Upholstery tacks. I picked up a pack, moreover at Curiosity Lobby. Widespread prices was $1.99 nevertheless as a result of it was the one merchandise in my basket not on sale, I was ready to utilize a 40% off coupon on it.
- Hammer.
Full worth for this high-impact DIY endeavor? Decrease than $20 and it more than likely took me decrease than 20 minutes to complete as quickly as I had all the supplies!
It appears I took far fewer pictures of this endeavor than I had alleged to, nevertheless I imagine it should nonetheless be easy to watch along with this tutorial.
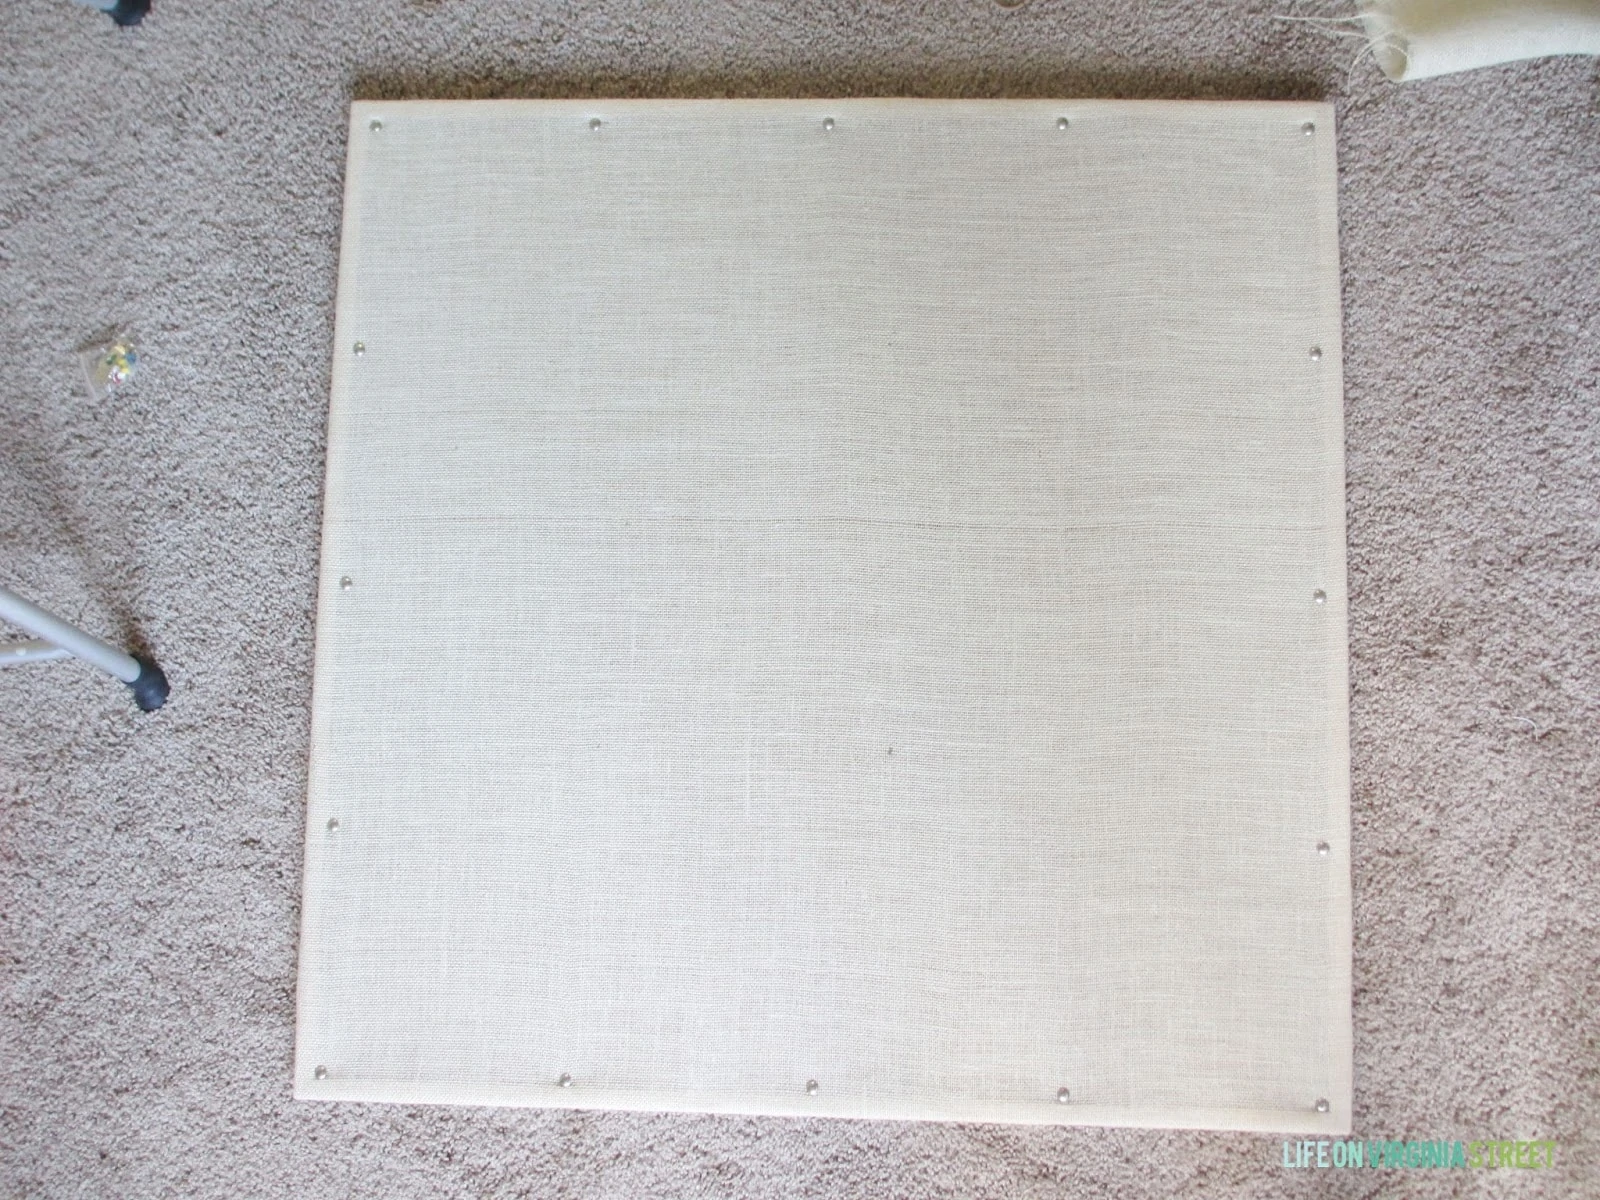
First, I stretched out the burlap extreme of the bulletin board. Mine had a wood physique throughout the sting already which labored utterly as my info and added a little bit of dimension to the last word product. I merely started in a single nook and pushed one among many upholstery tacks inside the burlap by the corkboard. ThenI tried to line it up exactly on the within fringe of the physique. I then went to the adjoining nook, pulling the burlap materials tight, and added one different. Moreover I then added one to the center of those two splitting the excellence, and pulling the fabric as I went, until a whole facet was achieved. I might then switch on to the next facet. As quickly as the doorway facet was achieved, it appeared like this:
I then flipped the board over. And totally folded my corners beneath {see the {photograph} beneath}. My upholstery tacks occurred to be merely barely longer than the cork depth. Which panicked me at first, nevertheless ended up determining utterly. I merely pushed one different tack in on the underside wherever I felt the aim from the one on the doorway, so the tack on the once more lined the aim on the once more from the tack on the doorway. I labored throughout the board similar to I did on the doorway, as soon as extra tightening the fabric as I went spherical. You probably can see I moreover added additional tacks on the once more to take care of the fabric as tight as doable {spacing was not nearly as important on the once more since you gained’t see it}. In some conditions I would want a hammer to softly faucet the tack in.
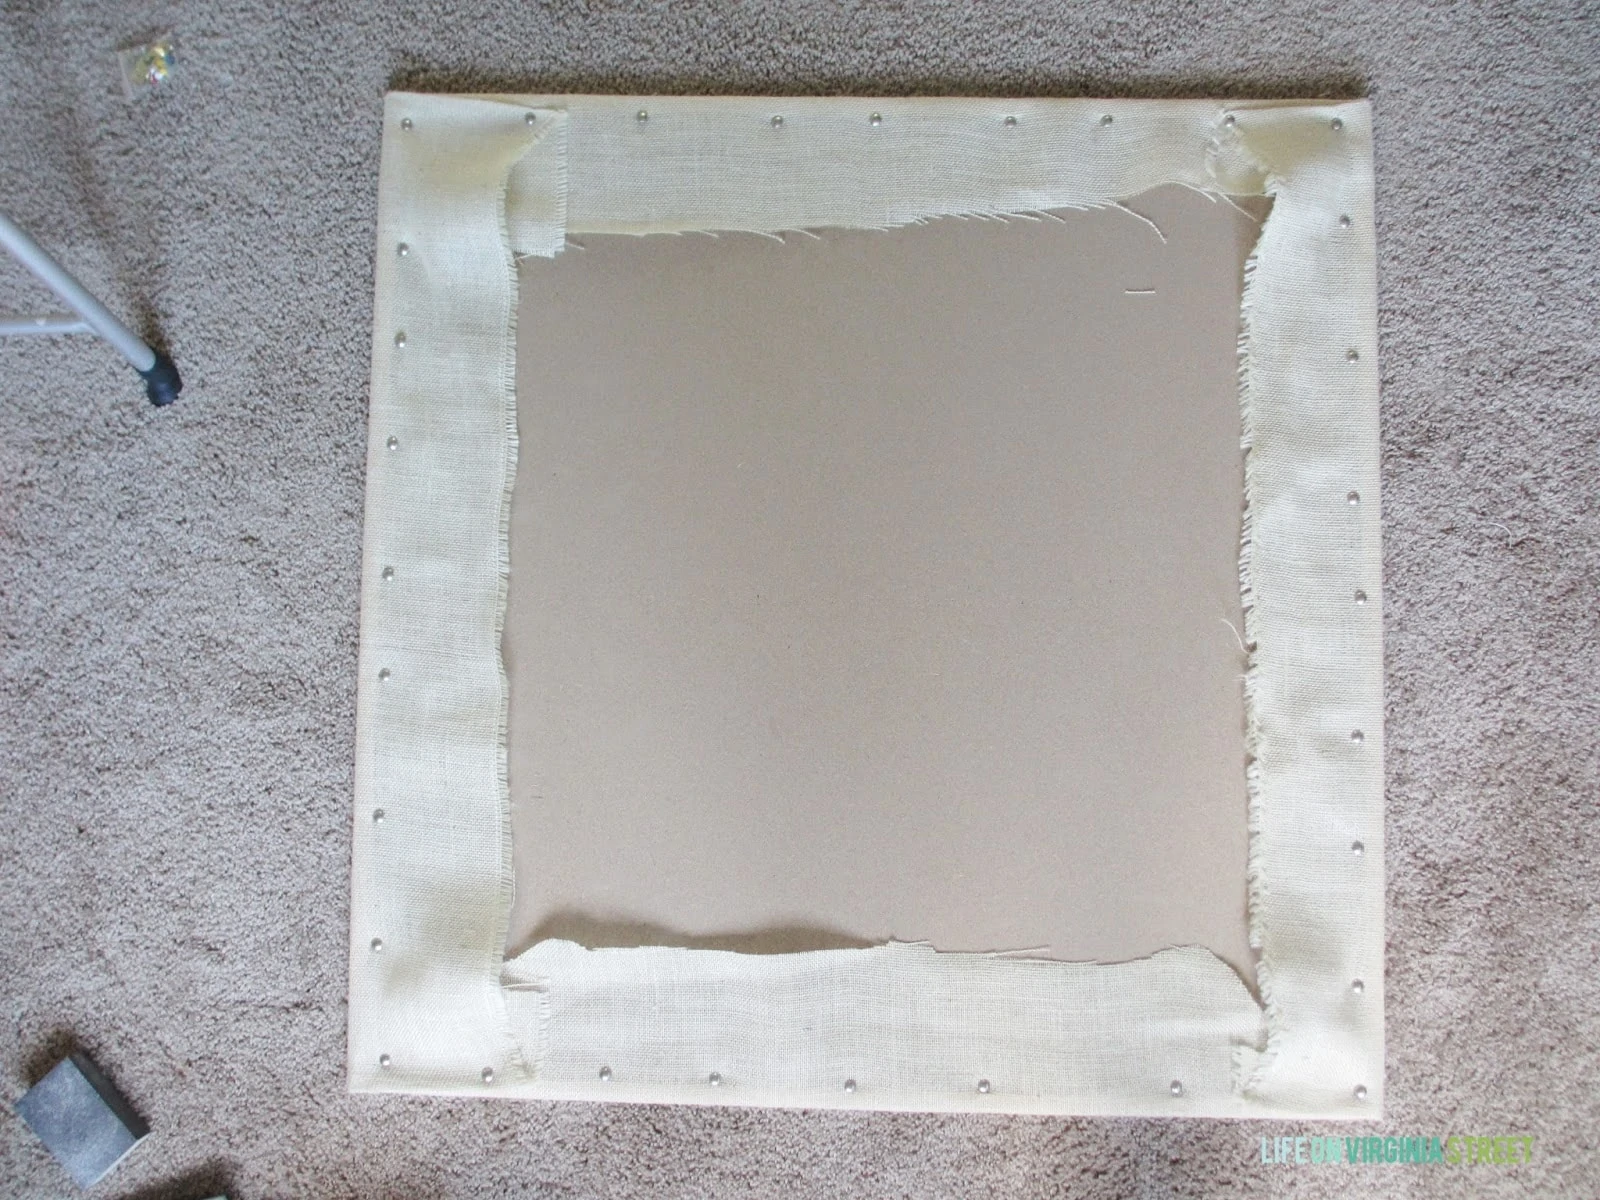
As quickly as all the tacks have been achieved, I decrease away just a few of the additional materials to avoid bulges as soon as I hung it on the wall. This particular board bought right here with it’s private mounting bundle, so a few minutes later and it was already hanging on the wall. I couldn’t be happier with the tip consequence!
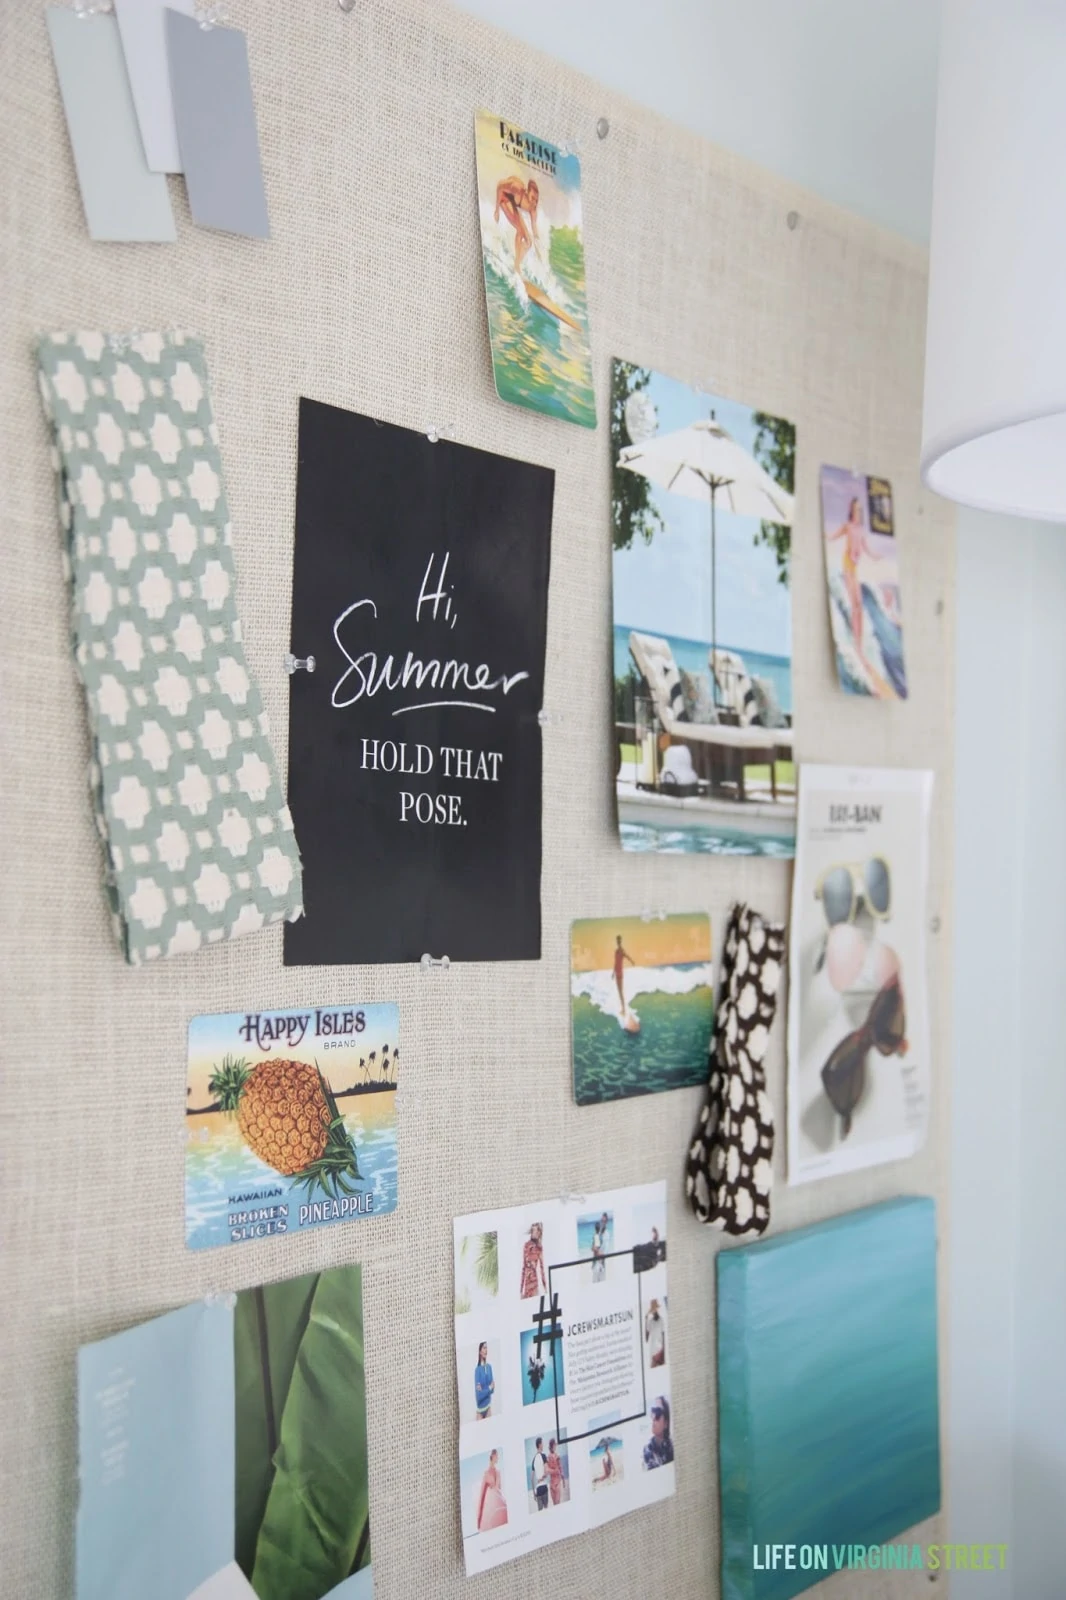
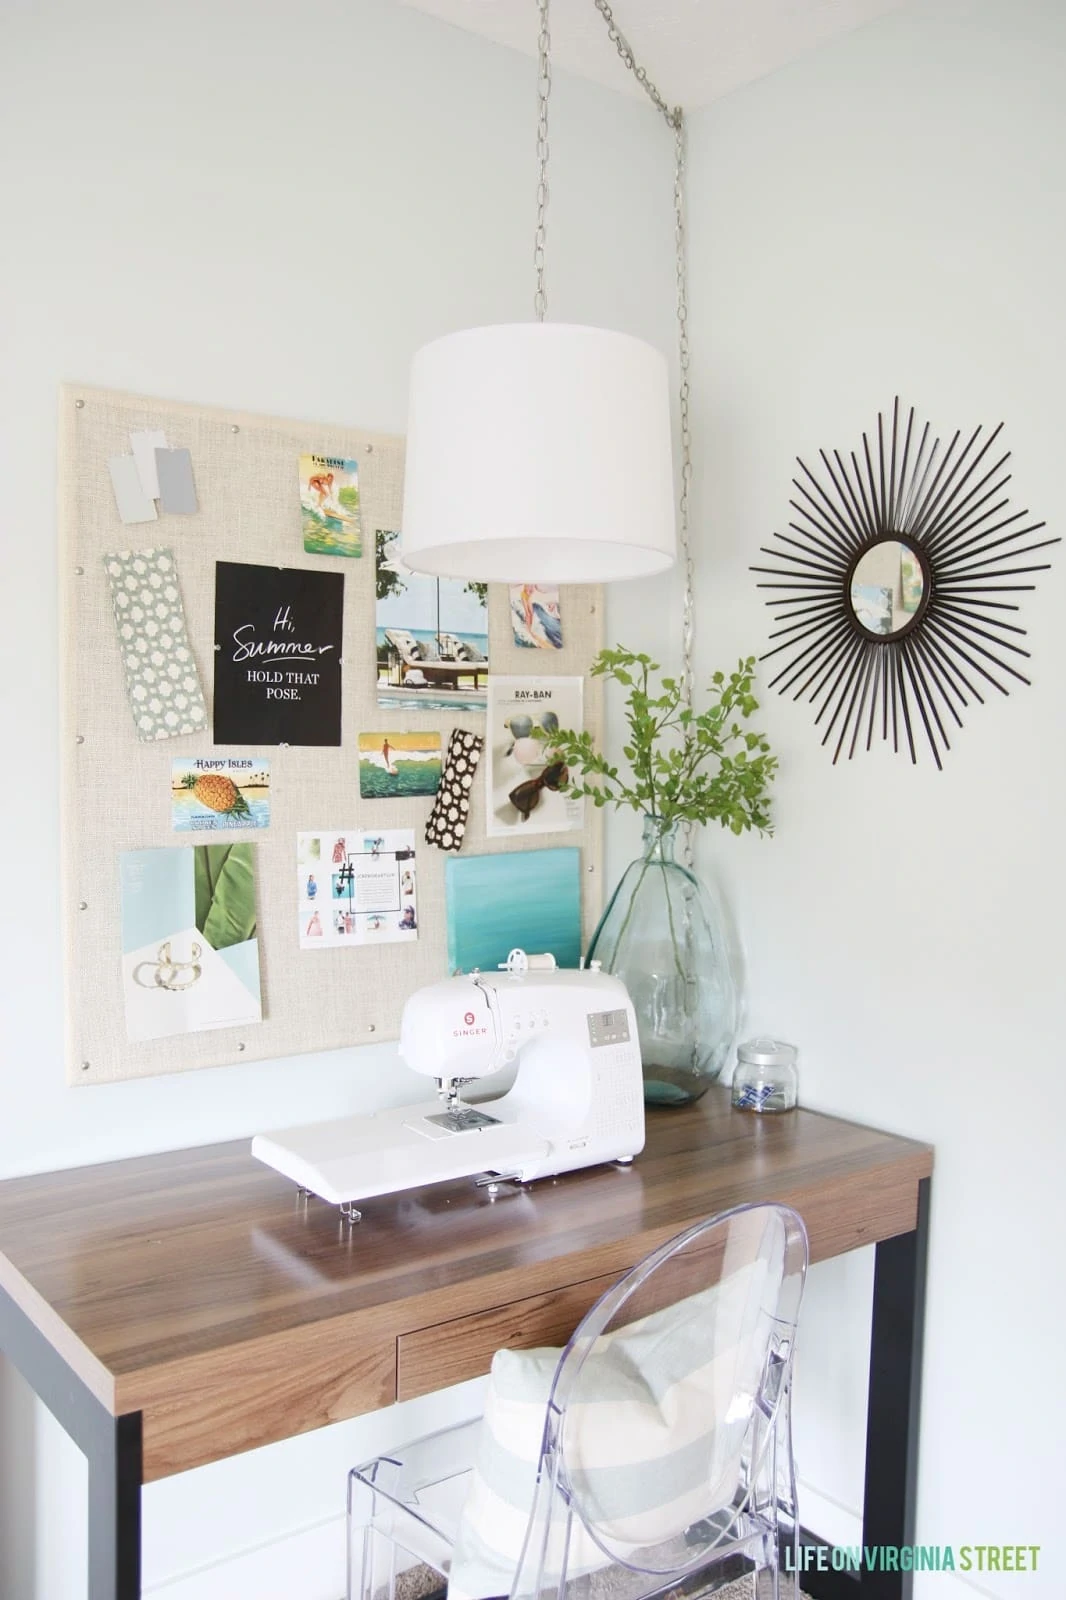
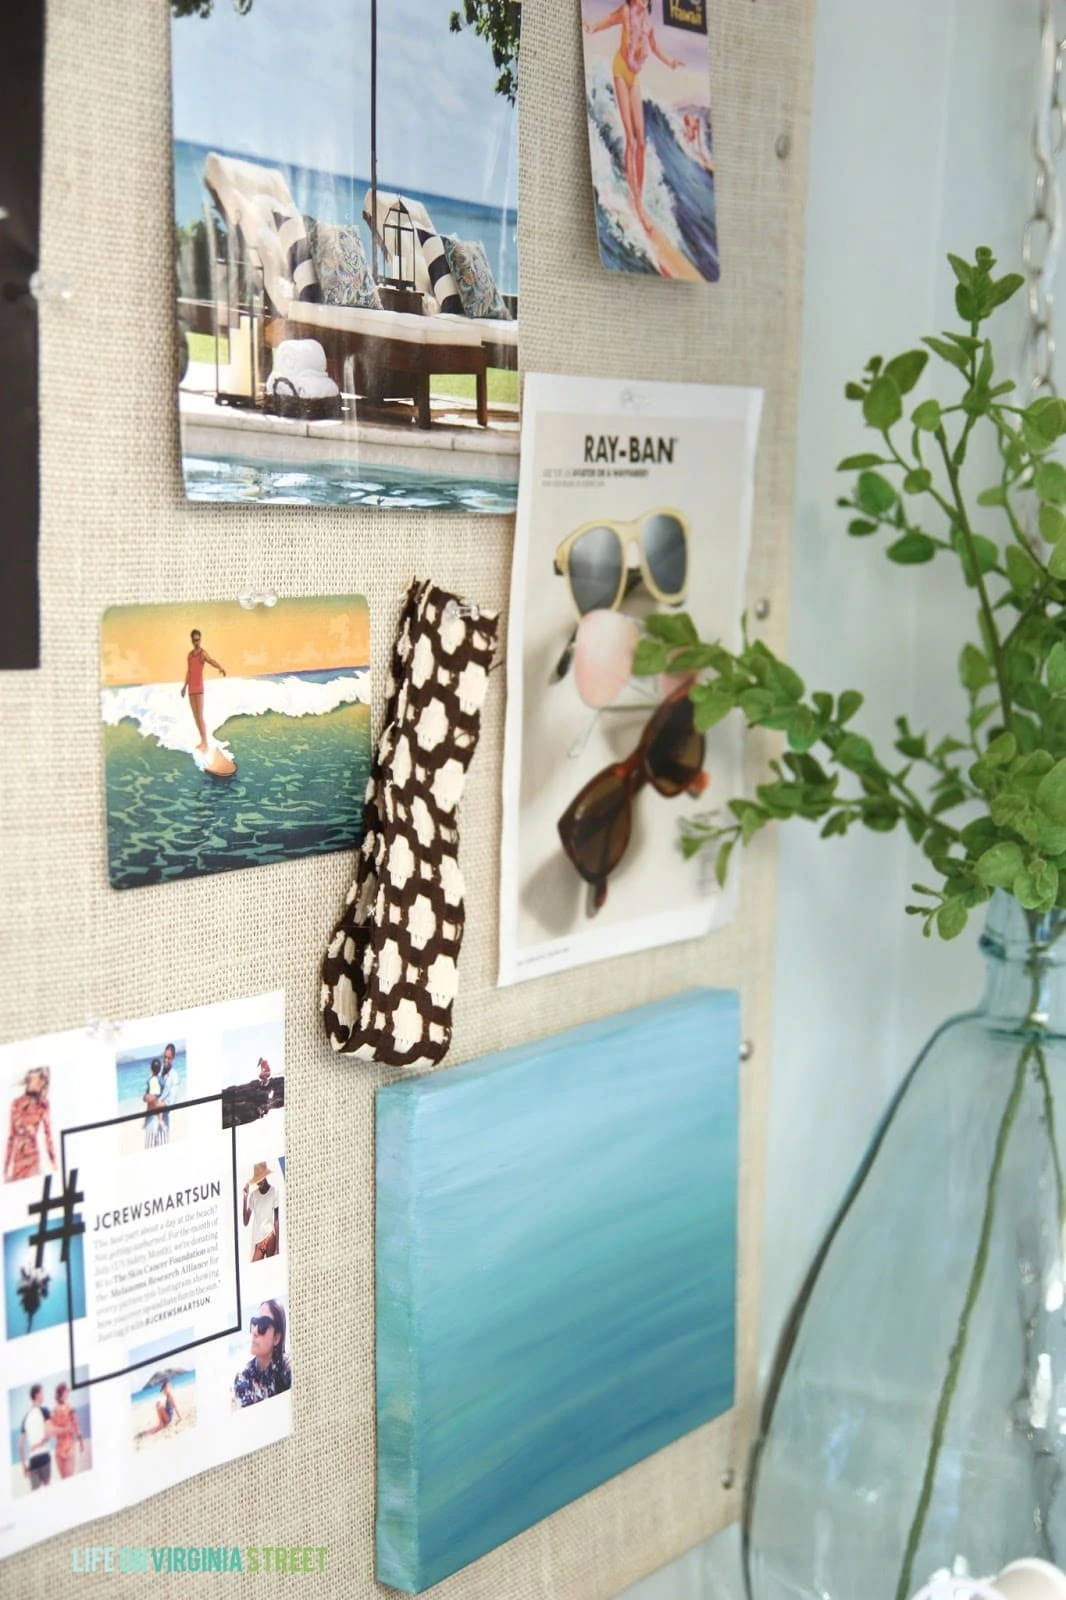
I’m utterly a California-surfer-chic wannabe at coronary coronary heart, so I crammed the board with loads of gratifying summer-related devices that I shopped spherical my dwelling to hunt out. I included Restoration {{Hardware}} paint samples, some Celerie Kemble Betwixt materials scraps, pages of a present J. Crew catalog and some “basic” surf postcards we had picked up in Maui a few years once more. I like this little inspiration house quite a bit!
If you wish to observe alongside on additional of my residence decor, DIY and random posts, I’d prefer to have you ever ever observe me on any of the subsequent:
disclosure: some affiliate hyperlinks used


